

Thursday, 28 July 2011
Tuesday, 26 July 2011
Baking Cheats
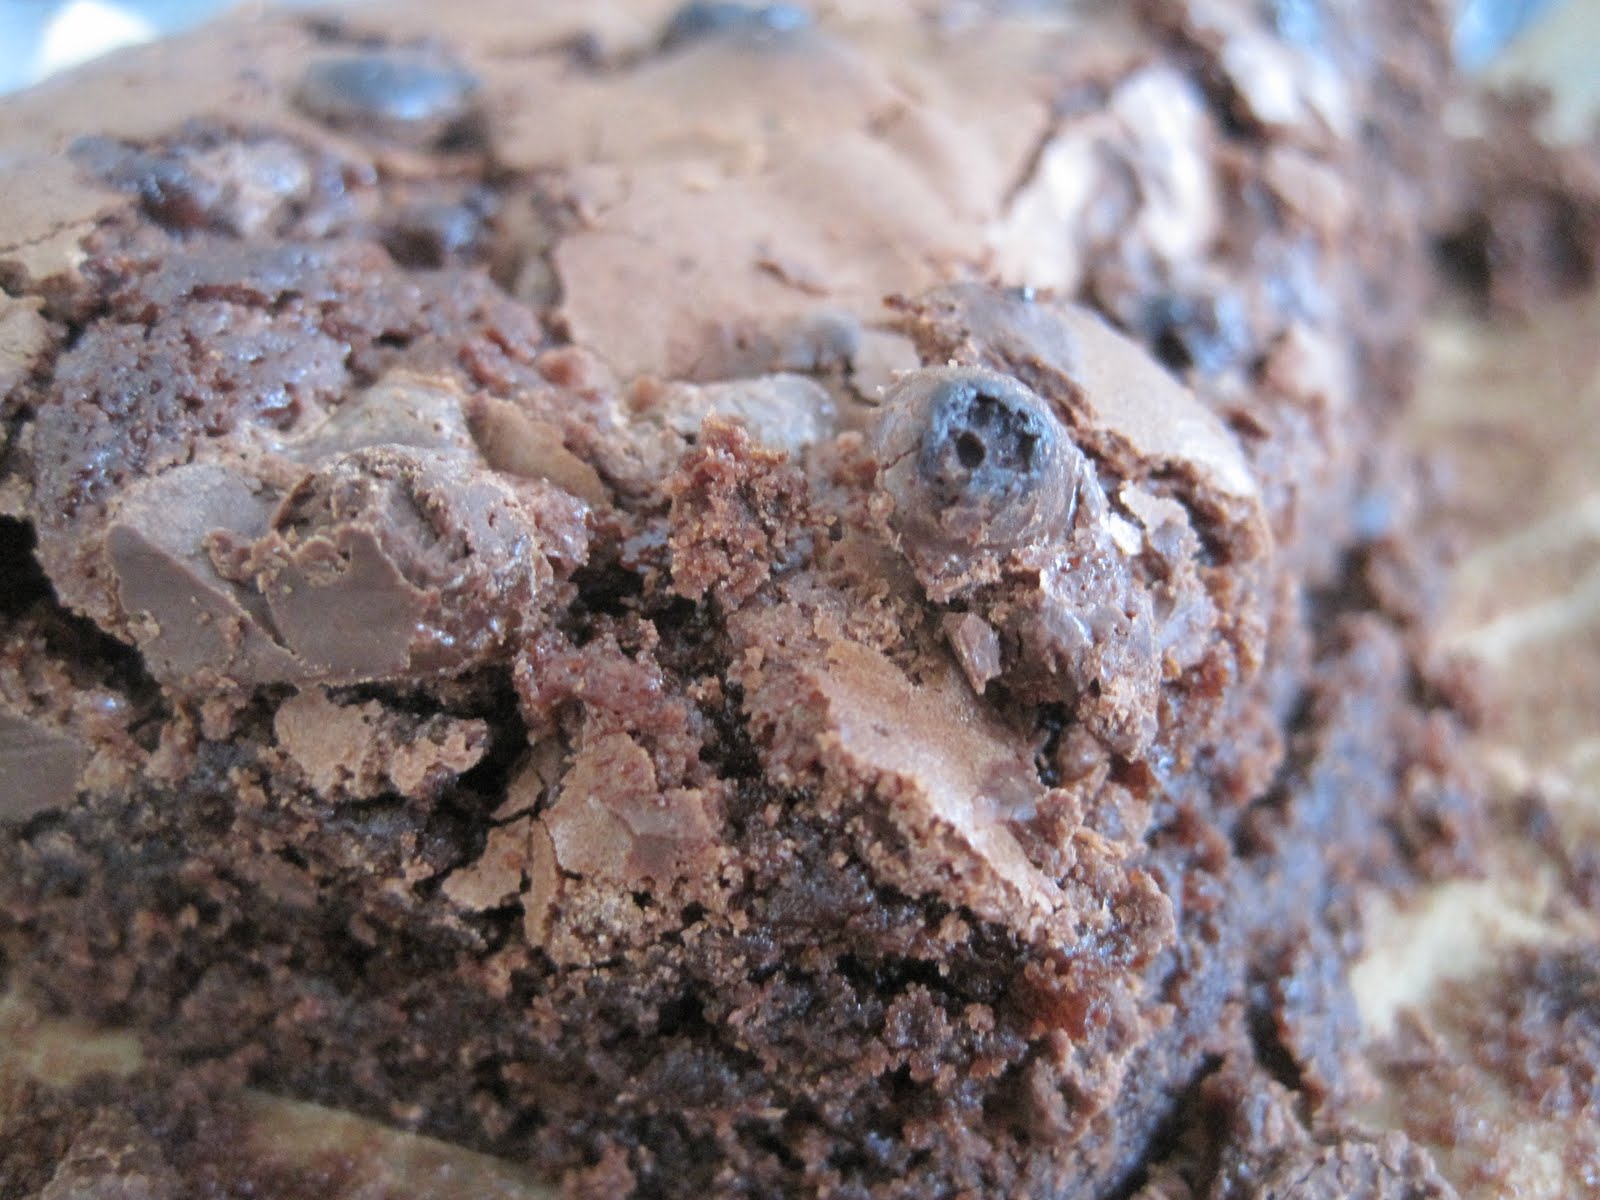
Sometimes, you just want a nice brownie, with no effort of baking and making a mess, right? Sometimes - very rarely, I can think of about two occasions before now - I use cake box mixes. When you're craving gooey fudgey brownie at 3am it's the best way forward!
The one I used this time was just a Betty Crocker mix, similar to this Betty Crocker Brownie Mix . Not the same one, obviously as I'm in England, but the same brand and sort of thing. I have to say I was impressed! The mix is really nice and easy to make and doesn't take too long either. The brownies are really moist and chewy which is a massive bonus; I can never quite get my from scratch brownies to retain their moistness without either being undercooked or just horrible tasting. Something I definitely need to work on!
Anyway. The mix was about £2 (+ an egg) so fairly decent value for money if you don't have the ingredients in or aren't brave enough to make brownies from a recipe. I added chocolate chips sprinkled over the top half way through cooking which was a little misguided as half burnt so next time I'll just stir them through the mix before cooking. They're a nice addition though!


I've been a (kinda) bad baker...
Just a quick post to show you in pictures what I've made recently, as I currently don't have time to write a full one. Full recipes and more pictures coming over the next few days.


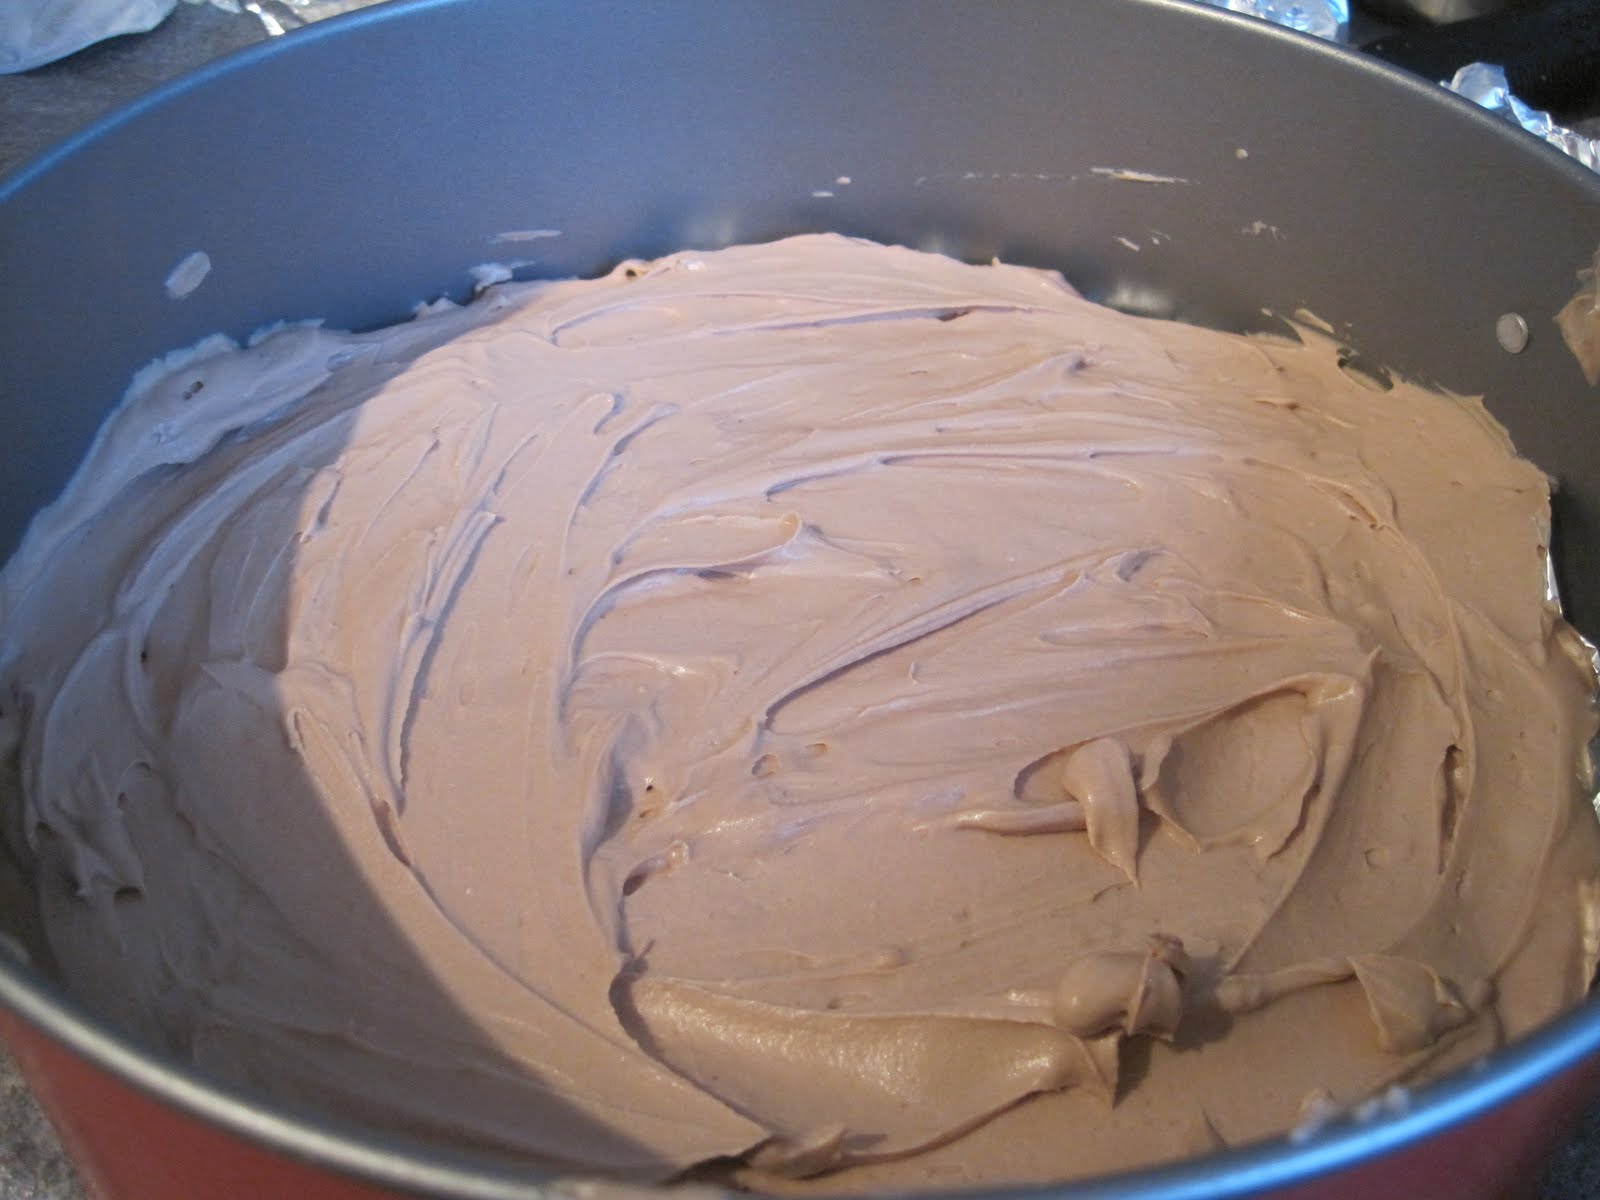
Brownies

Rainbow cupcakes. Better pictures coming, I swear!

Little bit of a cheat, these were made over 2 years ago now. But I used the recipe recently and these are far better than those came out - and I'm planning on making them again soon.
So guys, stay tuned over the next few days!
Thursday, 14 July 2011
Learning Sugarcraft Week 2
Now, as predicted, these are a little bit of a step up from last time. Honeysuckle is a much more fiddly flower with lots of little bits that can snap off if you're a bit heavy handed, like me. Finesse is not a skill I have refined yet!
We started off by colouring the flower paste a light ivory colour, which as you can see went a lot better than my attempt at colouring last week!

(I also managed to finally get myself some flower paste so I can practice at home! Though next week's poppies look like they might take a fair bit of it... I'll probably buy some more.)
It's funny how a few simple steps can make a really nice outcome, isn't it? I'm not confident enough yet to talk you through how to make them; but one day I will. I swear. Until then, here's some photos of the finished thing.


We started off by colouring the flower paste a light ivory colour, which as you can see went a lot better than my attempt at colouring last week!

It's funny how a few simple steps can make a really nice outcome, isn't it? I'm not confident enough yet to talk you through how to make them; but one day I will. I swear. Until then, here's some photos of the finished thing.


N.B. This one was made by my instructor, she gave it to me after I managed to snap the tail and three of the prongs off of one of mine whilst attempting to dust it. See how much prettier it is?!
My apologies for the slow updating of this blog; I don't get a lot of time to bake and make things really. I've got some important uni exams coming up at the end of August so I'll either be updating very regularly as a procrastination method or hitting the books! Next week we do poppies, then this class ends, which is sad. But I plan to continue practising my techniques etc. and getting better! I'm looking out for a book on sugarcraft flowers, if anyone can recommend one. It's currently either Sugarcraft Flowers or Sugar Flowers for Beginners atm... Not sure which yet!
Friday, 8 July 2011
Malteaser Cheesecake

Om nom nom. No bake, nice and simple, great tasting and easy!
Ingredients
- 250g digestive biscuits, crushed 125g salted butter , melted
- 5 tbsp caster sugar
- 2 x 300g tubs Philadelphia cream cheese
- 300ml pot double cream
- 300g white chocolate
- 200g bar milk chocolate
- 2 tbsp malt or Horlicks powder
- Malteasers to decorate
1) Melt the chocolates in two separate bowls (I did one over a saucepan of boiling water and one in the microwave).
2) In a separate bowl, melt the butter. Crush the biscuits by putting them in a sandwich bag and bashing with a rolling pin until most have formed a fine breadcrumb like texture. I like to have a few bigger bits still in for a bit of variety! Add the crushed biscuits to the butter and two tablespoons of sugar and line the base of a spring form tin. Put into the fridge to chill whilst you make the cheesecake.

3) In two separate bowls, add 1 300g pot of Philadelphia and half the cream (150ml). Add the white chocolate to one bowl and the milk chocolate to the other. Beat the white chocolate bowl until smooth with an electric whisk.
4) In the milk chocolate bowl, also add the Horlicks powder and the remaining three tablespoons of sugar. Beat well with an electric whisk until smooth.
5) When the mixture is smooth enough, place the milk chocolate mixture over the biscuit base. Smooth down as best as possible, and then add the white chocolate mixture.
6) Decorate with malteasers and chill for 6+ hours before serving.


Recipe adapted from here
Pictures aren't great, I really must tidy up before I bake so I can put them up properly! This cheesecake is lovely and creamy, though it is quite cheesy.
Monday, 4 July 2011
Learning Sugarcraft: Week 1
Part of my 21st birthday pressies was an unsuspecting looking envelope, containing a slip of paper with details of a cake decoration course on. My dearest mum had booked me and her (she knows I don't like going new places alone, and is always happy to try something new!) on the initial flower arranging course. The first night was last Wednesday, and I was really nervous - would everyone else be better than us? What if they're all horrible? What if I can't do it?!
My fears were completely unfounded, as everyone, teacher included, was lovely and really helpful. Me and my mum felt a little amateur as some of the other ladies are serious bakers - One had a toolbox full of stuff! - and have been on other courses, but we soon settled into it and everyone was understanding of the different abilities. We started with a wildflower, who's name I have forgotten, but one that was simply lovely to make and nice to look at too.
I started initially by colouring my flower paste darker than needed, the ideal was a nice pastel colour and as you can see, my red is not a nice pastel pink but a rather dark red! The blue came out lighter but again, not as light and natural as it should have been. My mums are a lot closer to the 'actual' colour they're meant to be - but as pointed out, nature is full of variety and when making sugar flowers, we're not looking for complete unity but a little bit of variation!
I'll let the pictures do the rest of the talking, as I think that's all I can say! Next time we're doing honeysuckle which looks more intricate :) And finally we're doing poppies - my mums favourite flower and one that means a lot to me for various personal reasons. Eventually when I've remembered how to make them and had another few goes (note to self'; must buy some flower paste!) I'll write up a short tutorial on this weeks flowers.


Friday, 1 July 2011
Squidgy Double Chocolate Cookies Recipe

Ingredients
3/4 cup plain and white chocolate chips
1/3 cup unsweetened cocoa powder
1/2 cup butter or margarine, softened
1/2 cup white caster sugar
1/4 cup soft dark brown sugar
1 tsp vanilla essence
1 egg
2/3 cup plain flour
1/2 tsp bicarbonate of soda
1/2 tsp salt
Oven temp - 170oC, for about 5/6 minutes
1) Cream the butter and the sugars together in a large bowl.
2) Add in the egg and vanilla essence and combine.
3) In a separate bowl, sift together the flour, bicarb. of soda, salt and cocoa powder. Add to the wet mix a few spoons at a time, mixing thoroughly.
4) Add the chocolate chips and mix again.
5) Spoon onto a baking tray with a teaspoon to make small cookies.
Recipe from http://www.nigella.com/recipes/view/lush-squidgy-double-chocolate-cookies-780


Tuesday, 14 June 2011
Oreo Cupcakes
I've had my eye on baking these for a while, and as I have a lot of time off this week it seemed like the perfect procrastination tool from tidying my room. The recipe I followed came from this lovely baking blog, which I would urge you all to visit!

Dry Ingredients:
Oven temp -180 degress ish for 10 minutes.
2) Melt the chocolate and allow to cool.


The recipe is nice and simple, really quick and easy as well! And the sponge is lush! I think next time (I will be making these again) I'll use dark chocolate instead of milk though. Here's the recipe:
Ingredients:
2 packets of normal sized Oreo cookies
225g self-raising flour
225g sugar
21g cocoa powder
1 teaspoon baking powder
¼ teaspoon of salt
225g sugar
21g cocoa powder
1 teaspoon baking powder
¼ teaspoon of salt
Wet Ingredients:
120ml milk
2 eggs
55g chocolate (melted)
110ml boiling water
90ml oil
½ tablespoon vanilla essence
120ml milk
2 eggs
55g chocolate (melted)
110ml boiling water
90ml oil
½ tablespoon vanilla essence
1) Line a muffin pan with large paper cases and then place half of a large oreo biscuit in the bottom of each one. (Twist the oreos carefully so you get all the cream on one side). Keep the other half of the oreos to one side for later.
3) In a large bowl, whisk together all your dry ingredients.
4) In another large bowl, whisk your eggs until they thicken slightly and turn pale in colour.
5) To the egg mix, add in the milk, vanilla and oil and whisk well.
6) Then add in the cooled chocolate, and again whisk.
7) Add the wet ingredients into the dry and mix until combined. Then mix in your hot water.
8) Fill the cupcake liners about 3/4 of the way full. You may want to add a little bit of the mixture into the bottom of the case before you put the half of an Oreo in.
9) Bake in the oven for around 10-12 minutes, or until when the sponge bounces back when pressed lightly with a fingertip.
Frosting ingredients
125g unsalted butter
250g icing sugar
1-2tbp milk
1 tsp vanilla extract
Oreo halves (crushed)
1) First of all, take your oreo halves and blitz them either in a food processor, or place in a freezer bag and bash with a rolling pill until they reach crumb consistency. If you want to pipe your icing, make sure all the crumbs are smaller than your icing tip hole!
2) Whisk together the butter and icing sugar, adding a splash of the milk and vanilla extract until the mixture is light and fluffy. Add in the oreo crumbs.
3) Once the cupcakes are completely cooled, either pipe on the frosting with a piping bag and nozzle, or just spread over the cake with a knife.
4) For final decoration, stick a mini Oreo in the top just before serving.


Monday, 13 June 2011
Mississippi Mud Pie Cupcakes
I can never spell that right, thank God for autocorrect!
Not my favourite cake, in fact I haven't really tried them *ashamed* but I do have one good reason for it... I hate rum/brandy/99% of alcohol in cake or chocolate! This recipe uses our good friend, Jim Beam for an extra kick. And a lot of it. As you can tell, the mix is quite runny. This is another cake recipe from my new Lets Make Whoopies! book, and once again, I am impressed. Or at least, my boyfriend who's slowly working his way through all 14 is.


Not my favourite cake, in fact I haven't really tried them *ashamed* but I do have one good reason for it... I hate rum/brandy/99% of alcohol in cake or chocolate! This recipe uses our good friend, Jim Beam for an extra kick. And a lot of it. As you can tell, the mix is quite runny. This is another cake recipe from my new Lets Make Whoopies! book, and once again, I am impressed. Or at least, my boyfriend who's slowly working his way through all 14 is.

 |
| This was full when I started. OK, well... At least, above the label! Now about half full. Far too much used! |

Just baked, note the brownie like appearance (and the uh, slight burnt bits)

Despite the runny mix, they're pretty dry. I think I over cooked them.

The one thing I really liked about this recipe was the icing, which was a different, more fudgey style than the cream cheese frosting which Grey seems to favour. It involved all manner of fun things like boiling sugar and evaporated milk...

This icing all has a large glug of J.B in. Nom. It's really easy to make (despite all the intricacies!) but the trouble comes in waiting for it to cool down before using it! It needs a good four hours to get to a workable temperature, and you'll probably have to beat it before you use it as it'll start to set. Don't try to ice your cakes before it's cold like I did, you will burn yourself!
Got lots of time off this week so I'll make something that I can post the recipe for, probably Wednesday.
Saturday, 4 June 2011
Strawberry Cheesecake Whoopies

Everyone loves strawberries in summertime! They're beautiful and sweet at the moment, and all British grown. We had a few left over from a punnet so I decided to try a recipe that was a bit out of my comfort zone - one that requires purées and two different mixtures and creaming things.
For my 21st, I got given Let's Make Whoopies! by Sophie Grey. A whoopie, for the uneducated, is a flat disc of cake with a filling and then another flat disc of cake - almost like a cake sandwich, if you will. The strawberry cheesecake version features strawberries and strawberry cream in the middle, with a marbled cheesecake and strawberry sponge cake.
I'm very impressed with these; the recipe seems to work spot on (I've had trouble in the past with recipes being too 'industrial' for home baking) and they taste beautiful! I'm not the biggest fan of fresh strawberries or strawberry flavoured things but these are really something else. The sponge is sticky and cloying but this works fantastically with the sweet cream and fresh strawberries inside. The cheesecake mixed in cuts through the sweetness and stops the strawberry flavour from being too over powering.
I'm not going to give out the recipe because to be honest, this is a book you really need to get if you're into cakes at all. The recipes can all be transformed from whoopie to cupcake to full sized cake, so it's really a book for anyone. Plus it has recipes for savoury whoopies that can be used as canapes etc.! I'll do a review of it at some point, when I next have a day off work. For now, satisfy yourself with these pictures of my (new favourite!) thing to bake!


Friday, 3 June 2011
Lemon Drizzle Cake Recipe
This recipe was recommended to me by a friend. I've made it a couple of times now, with complete success!
Cake ingredients
4 oz softened butter
6 oz self raising flour with a sprinkle of salt
1 tsp baking powder
6 oz golden caster sugar (though normal caster sugar will do)
2 eggs
6 tbsp milk
Finely grated rind of one large lemon
Oven temp: - 180 degrees C, for about 30 minutes. For fan assisted ovens, drop the temp. by 20 degrees.
1) Mix together all the cake ingredients and beat until smooth. It helps here to have the softest butter you can. If you think it's a bit too hard, cream the sugar and butter together first before adding the rest of the ingredients to the bowl.
2) Put the batter into a greased and lined baking tin and put into the oven. Whilst the cake is baking, prepared the icings.
Icing ingredients
Juice of one large lemon
3 oz caster sugar (original recipe calls for 4 oz, but this is too sugary)
1) Beat together ingredients and check consistency. If it's too grainy, there's too much sugar so add more lemon juice. If it's too tart (taste it!) then add more sugar. This depends on the size of your lemon and the amount of juice you can get out of it.
2) When the cake is cooked, before you remove it from the tin, get a skewer and make a few holes in the top of it. Then pour on the icing.
Optional secondary icing ingredients
The first time I made this cake, I made it in two halves and sandwiched it together with a simple lemon frosting. Unfortunately I don't have exact measurements because it's quite trial and error-y but here's a guess... You will probably need to adjust them!
225g icing sugar
75g softened butter
1 tbsp milk
3 tbsp lemon juice
1) Combine all the ingredients with a hand mixer. The icing should be stiff and taste lemony - if it's too runny, add more icing sugar. If it's too stiff add another 2 tbsp of milk and beat again. It gets better the longer you beat it. Ideally, you want to be able to drag a knife through it and the line to stay for about 10 seconds.
2) Sandwich together the two sponges when cooled and enjoy!
Recipe credit: http://www.nigella.com/recipes/view/lemon-drizzle-cake-765
Trying something new with this blog....
Proper post coming up in a minute, I promise! Anyway, as this blog is going to be about my baking and cookery, I'm going to give the 'Amazon Associates' app. a go. This basically means when I blog about a book or tool that I use, I'll put one of these nifty little boxes in the post and then it's easy for you to follow the link to the Amazon listing.
I'm also going to try and organise this blog better than previous ones, so you can search or just click on a category and find all posts related to that category. :)
Coming up in the next post: Lemon drizzle cake recipe :)
I'm also going to try and organise this blog better than previous ones, so you can search or just click on a category and find all posts related to that category. :)
Coming up in the next post: Lemon drizzle cake recipe :)
Thursday, 2 June 2011


Subscribe to:
Posts (Atom)